2014 Class Valentines

This year for Valentine's Day, both grandsons decided to give Olaf Valentines I found on Pinterest. You can find the original here - Frozen Olaf Valentine. But because the schools only allow store-bought pre-packaged food, my daughter and I got creative and decided to use packets of hot chocolate.

Elliott, the second-grader, also needed a decorated shoebox for the class Valentine exchange. He and I collaborated and came up with a pretty unique idea. The box was orange, so we just went with it, saying it plays off Olaf's nose. I think it turned out cute and a little more boyish than the traditional red, white, and pink boxes.

I used the free printable for the hot chocolate labels.
I found an Olaf image online, sized it to fit the top of the box,
and used a Martha Stewart snowflake corner punch. For the snowflakes on the sides
of the box, I used a Sizzix stamp and die set with my Cuttlebug.

Valentine's Day 2014

This is the card I sent to the grandsons, grand nieces, grand nephews, and my grandsons's godfather's daughter. I used different paper for each card, but the construction was the same for all six.


I cut the hearts with my Cricut and used my corner-rounder punch on the corners of the card. The paper on the inside is the back of the background paper used on the front. The owl on the envelope is a Christmas stamp, but, since Valentine's Day is typically cold in the midwest, I thought it still worked for the February holiday. For extra fun, I included a half sheet of heart stickers in each card.


Thanksgiving 2013

I made two different Thanksgiving cards this year. The first one shown below went out to family. The second one was sent to a little girl who's celebrating her first birthday on Thanksgiving.

I got the turkey legs stamp on clearance at Archivers over the summer.
I think it's hilarious! I embossed the stamp with a bronze embossing powder
and double-matted it. Then I decorated the envelopes with a cute
pilgrim stamp I colored in with thin-line Sharpies.
I embellished this card with another cute stamp.
And, again, I colored the image in with thin-line Sharpies.

Halloween 2013

I made all of my 2013 Halloween cards with what I had on hand. In other words, I "scraped my stash!'

I bought the glittery jack-o-lantern embellishment on this
card front years ago. There were two in the pack, which worked out great.
Each of my two grandsons got the same card – no fighting!
Inside of above card.
Each part of the jack-o-lantern face
on this card front is a button – too cute!
Inside of above card. 
Graphic 45's Happy Haunting collection
is still my favorite Halloween paper.
Inside of above card.
The witch legs and shoes on this card came from a section
of  12"x12" paper. I love how simple this card is while
still being fun.
The candy corn paper on this card front had been in my stash
for years. I covered a few of the images with candy corn
glossy dimensional stickers I also found in my stash.
Inside of above card.
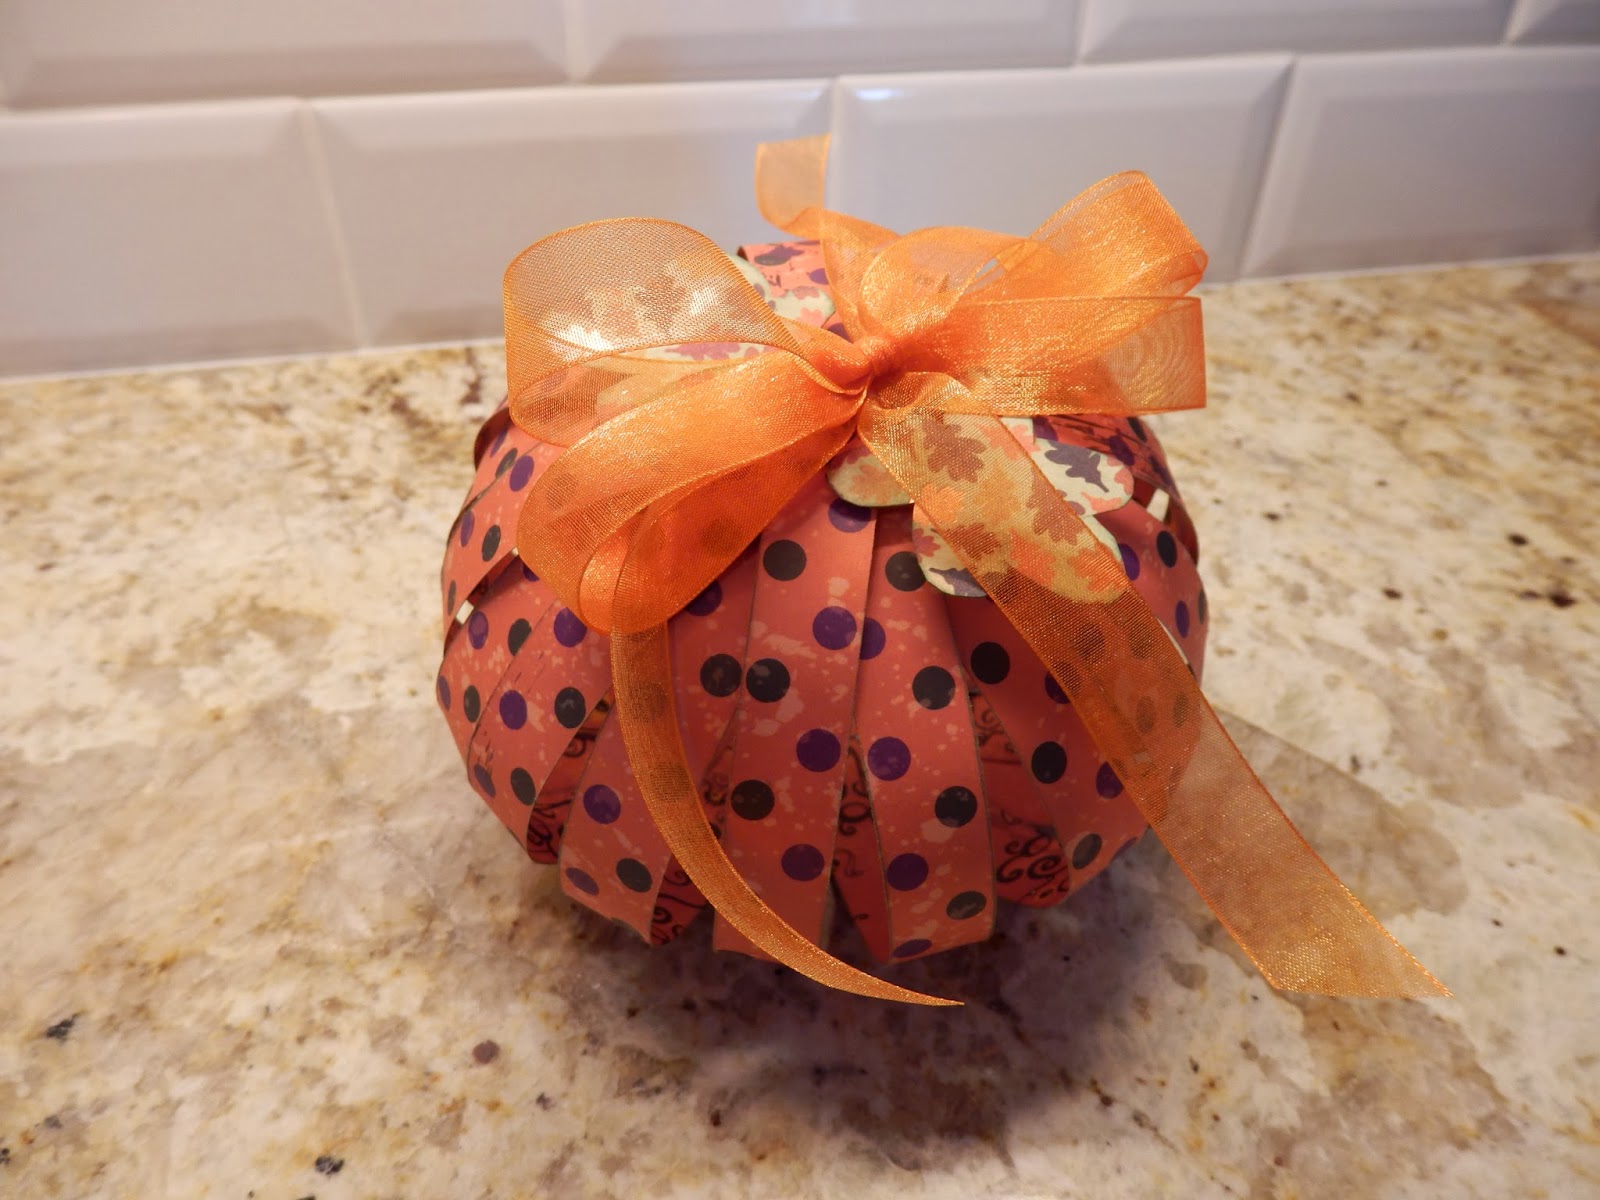
I was inspired to make these paper pumpkins after watching
MsLiberty25's YouTube video. I plan to make more next year. They're a great
way to use paper I've been holding onto for way too long.

Disney Mini Album

My daughter's family took two trips to Disney World in 2013, giving me a lot of material for this mini album.

I love how you can see the Mickey ear tabs at the top.
This is the inside front cover and page one. The back and front covers
and all the pages are connected by hinges I created with
a Mickey silhouette cut with my Cricut.
Each of the six inserts forms a pocket that holds a photo mat.
The tabs for the photo mats are smaller Mickey silhouettes also cut
with my Cricut. The front of each mat is blue. . .
. . .and the back is yellow.
This is an example of the two page spreads
throughout the album. All the embellishments
I used are over 10 years old. Still scraping my stash!

Graduation Mini Album

This mini album was created for my niece who graduated from Bradley University this year.

When the bow's untied, the album forms
a star by touching the front cover to the back cover. . .
. . .making a fun table-top display.

Paris Mini Album

I made this mini album for my nephew who was able to meet up with us several times during our March 2013 trip to Paris. Jonathan was at university in Paris from June 2012 until June 2013.
The front and back covers are pieces cut from
cereal boxes and covered with tourist maps.
The back cover includes my signature stamp.
The pocket on the first page was made from
a coffee cup protector and holds three
journaling tags.
Each of the six inserts includes a pocket that holds
a tag for two more photos, front and back.